Upload Files
You can manually upload individual files to a project, subject, session, or acquisition in Flywheel. This allows you to add resources for your project as well manually create new sessions and acquisitions one-by-one.
If you're looking to import large numbers of files and images, consider using Bulk Import instead.
Limitations
No De-Identification
The upload methods in this article do not de-identify data. If you need to de-identify images, use the legacy DICOM web uploader or command-line Interface (CLI).
Not Used for De-ID Profiles
Use one of these supported methods if you need to upload a site, group, or project de-ID profile.
Instructions
- Sign in to Flywheel.
- Go to the Project where you would like to upload the data.
- Select the Sessions tab. You can either create a new Session or upload to an existing Session.
-
To create a new Session, follow this step. Otherwise, skip to step 5.
-
Open the Actions menu, then click Create New > Session.

-
Complete the Subject Label, Session Label, Timestamp, and Time Zone fields.

-
Click Save.
- Select the Session under which the data should be uploaded.
Tip
You can filter and sort Sessions using the Timestamp and Project headers at the top of the list.
You can also select the
 Subject View to organize Sessions by subject.
 -
-
Select the Acquisitions tab for the selected Session. You can either create a new Acquisition or upload to an existing Acquisition.
-
To create a new Acquisition and upload data to it, follow this step. Otherwise, skip to step 8.
-
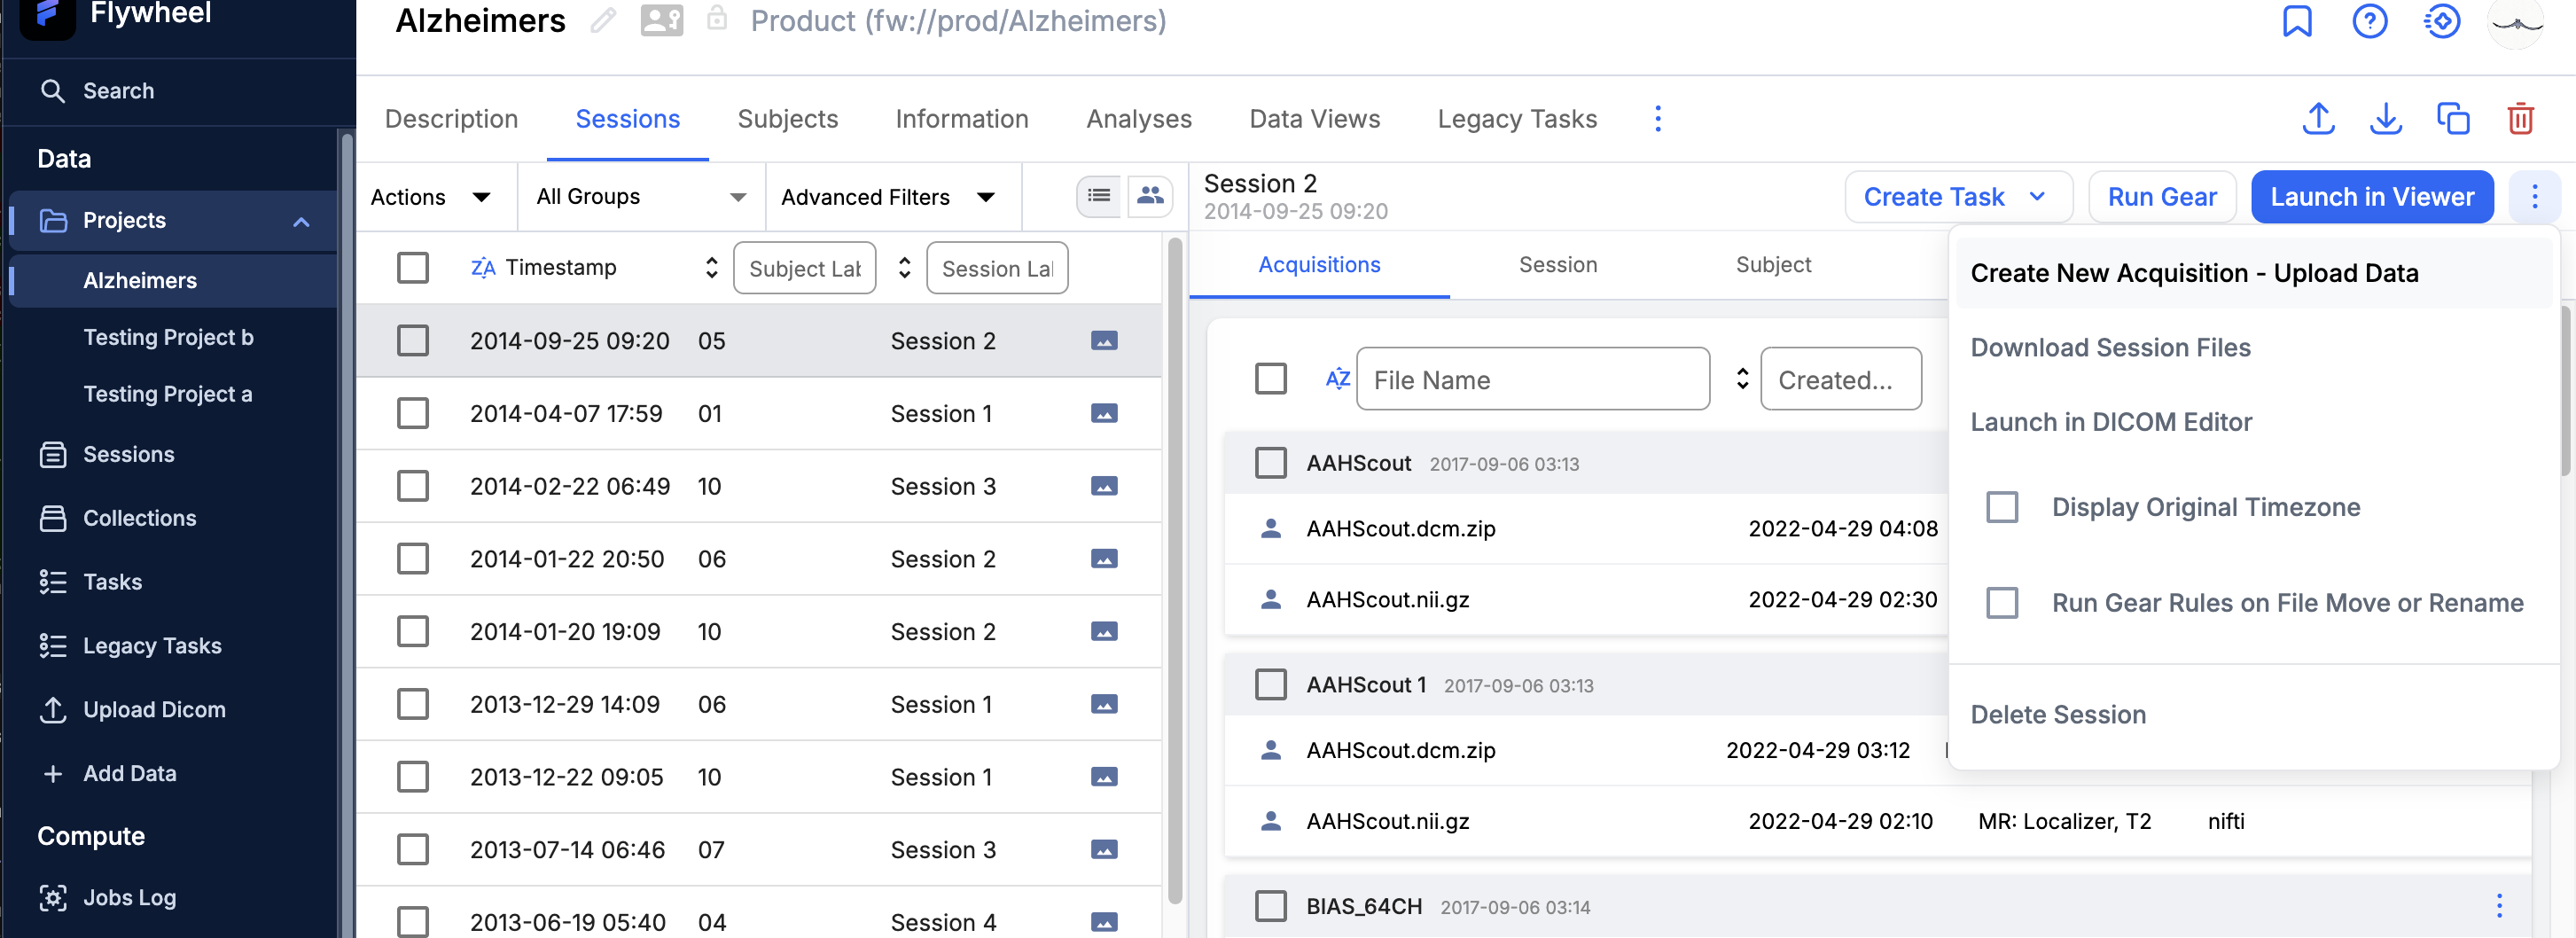
Open the Session's options menu and click Create New Acquisition - Upload Data.
-
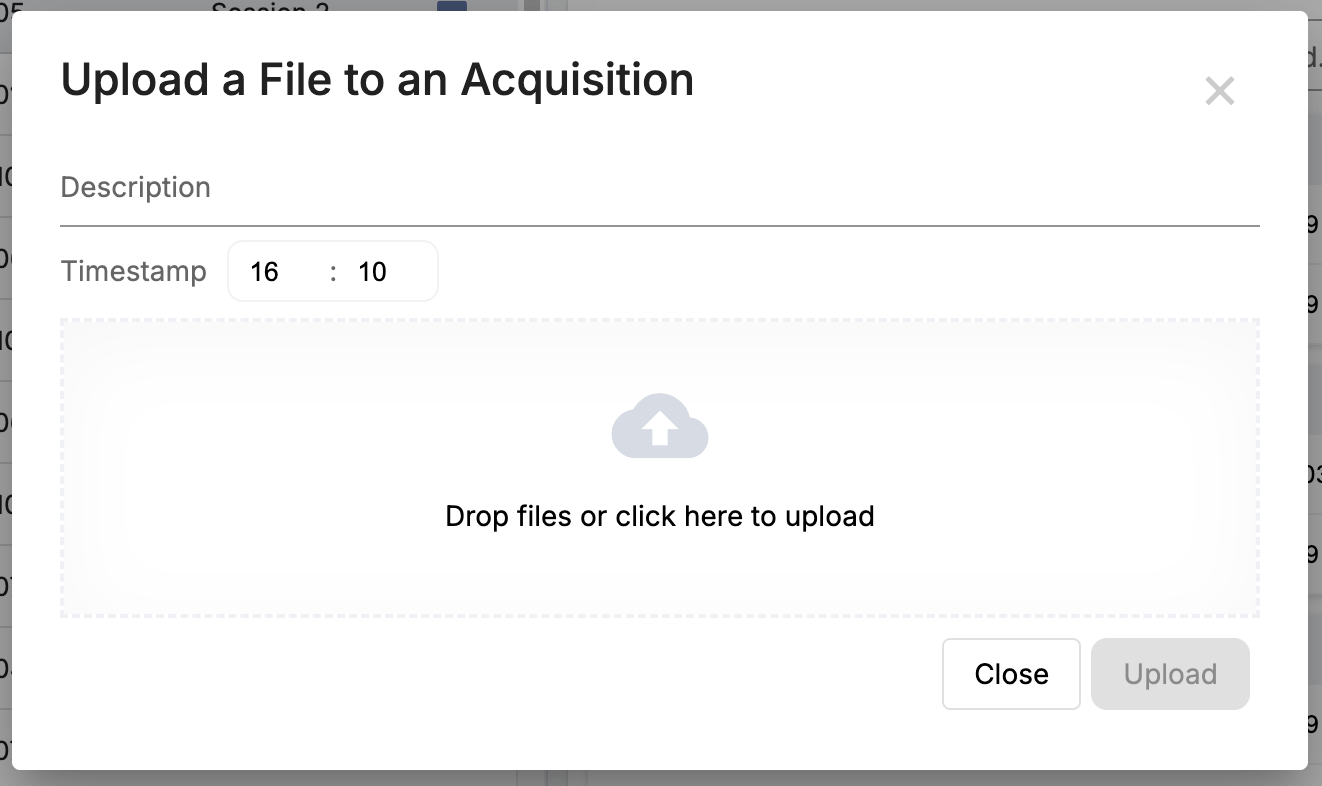
Add a Description and Timestamp, then drag files to the drop target or click anywhere on the drop target to launch the file selector.
-
Click Upload.
- To upload data to an existing Acquisition, follow this step.
-
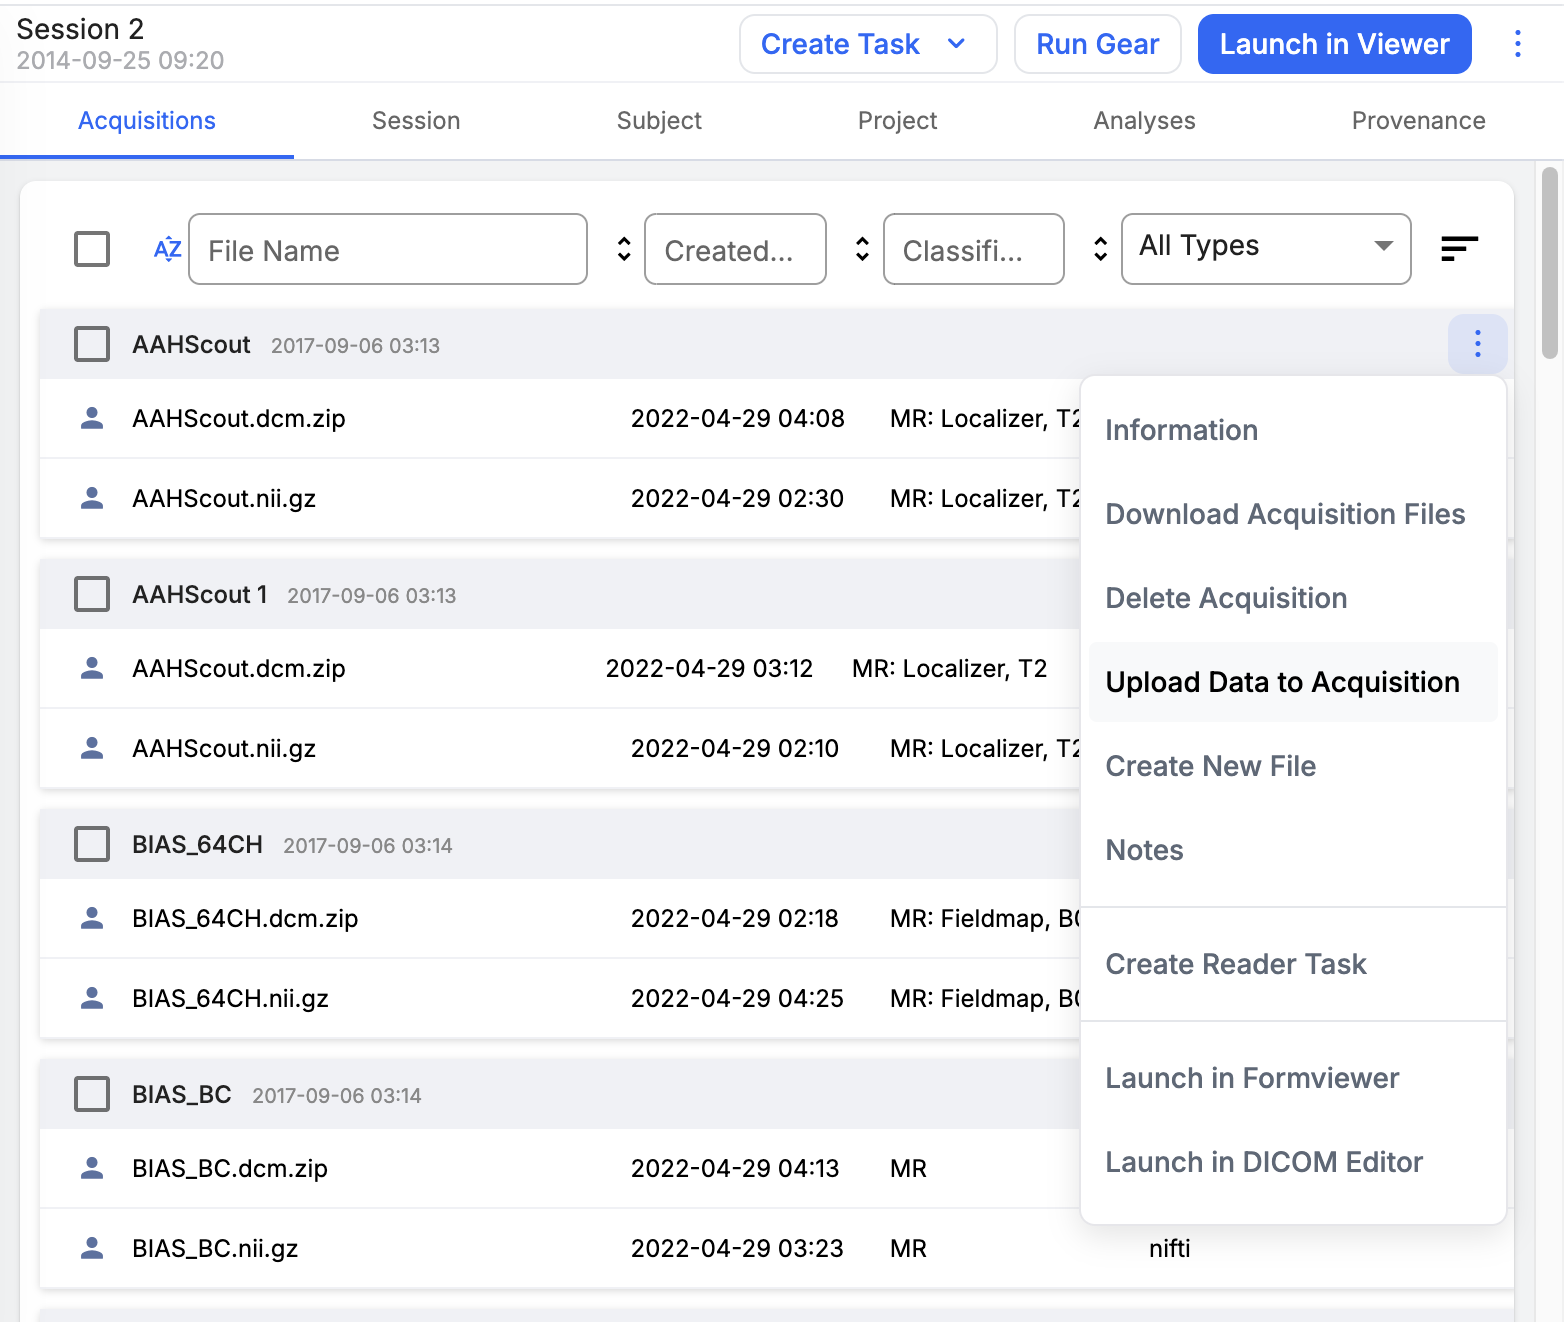
Open the Acquisition's options menu and click Upload Data to Acquisition.
-
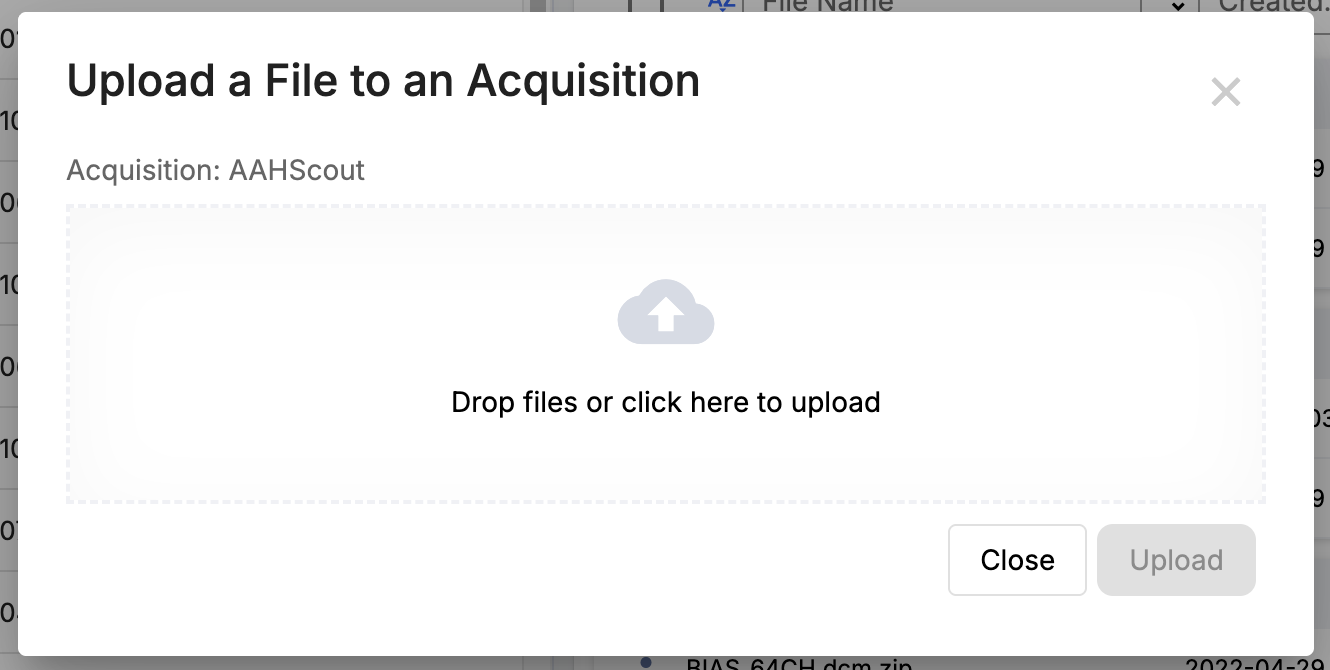
Drag files to the drop target or click anywhere on the drop target to launch the file selector.
-
Click Upload.
-