How to Run a Bulk Import
Instructions
The easiest and quickest option to get the data into Flywheel is to use the new uploader in the Flywheel Core Web App to upload the data.
The new uploader will temporarily stage the uploaded data into a pre-configured cloud object storage location and then trigger an import from that location.
The option for uploading data from your local machine is not currently available via the new CLI.
Tip
Only default mapping and filtering rules, are available when starting an import via the web app. If any sort of non-default mapping rules will be used, then the new (BETA) CLI will be needed to start the import.
Refer to the documentation on How to import data using the web app for more information.
1. Prepare source data
The first step is to decide how what information will be used to determine how the source will be mapped to the Flywheel hierarchy.
Refer to the documentation on Mapping to the Flywheel Hierarchy for more details of the various options for prepare your source data for mapping to the Flywheel Hierarchy.
2. Register external storage
Before an Import can be started, Flywheel must first be configured with information about where to find the source data and how to access it. This is done by creating a new "External Storage" within Flywheel for the bucket location where the source data is stored.
Follow the documentation explaining how to create a new "External Storage" registration in Flywheel.
3. Start the import
The option to start a new import is located on the Imports tab of the details page of the destination project:
-
Open the Flywheel Core Web App.
-
Select "Add Data" from the navigation panel on the left-hand side.

-
Select the Project to which you would like to import the data.

-
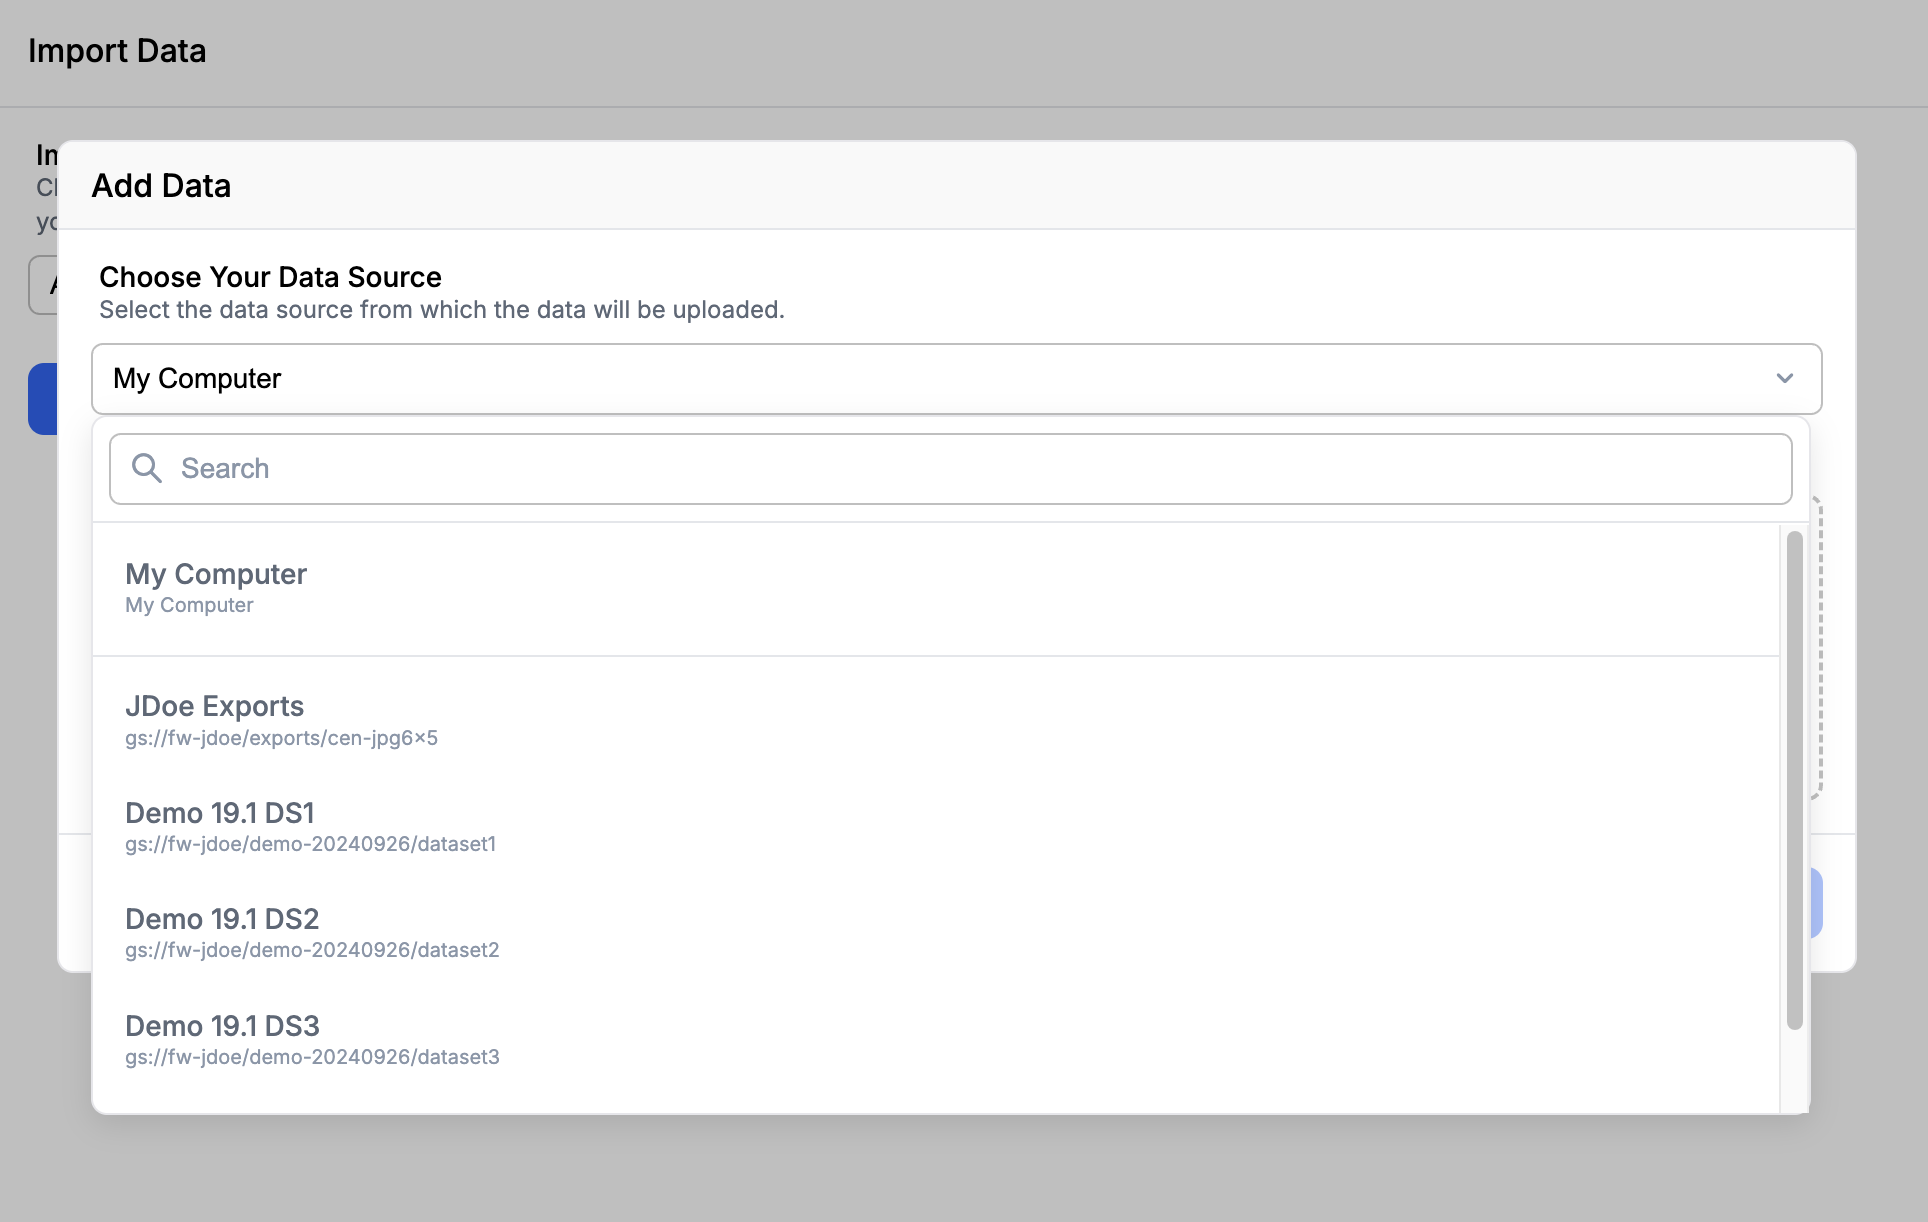
Select whether you would like to "Import from External Storage" or "Upload and Import from my computer".

-
Select "Next".
-
If uploading from your computer, follow this step. Otherwise, skip to step 8.
-
Upload the data directly from your local machine (either by dragging-and-dropping or using the folder browser).

-
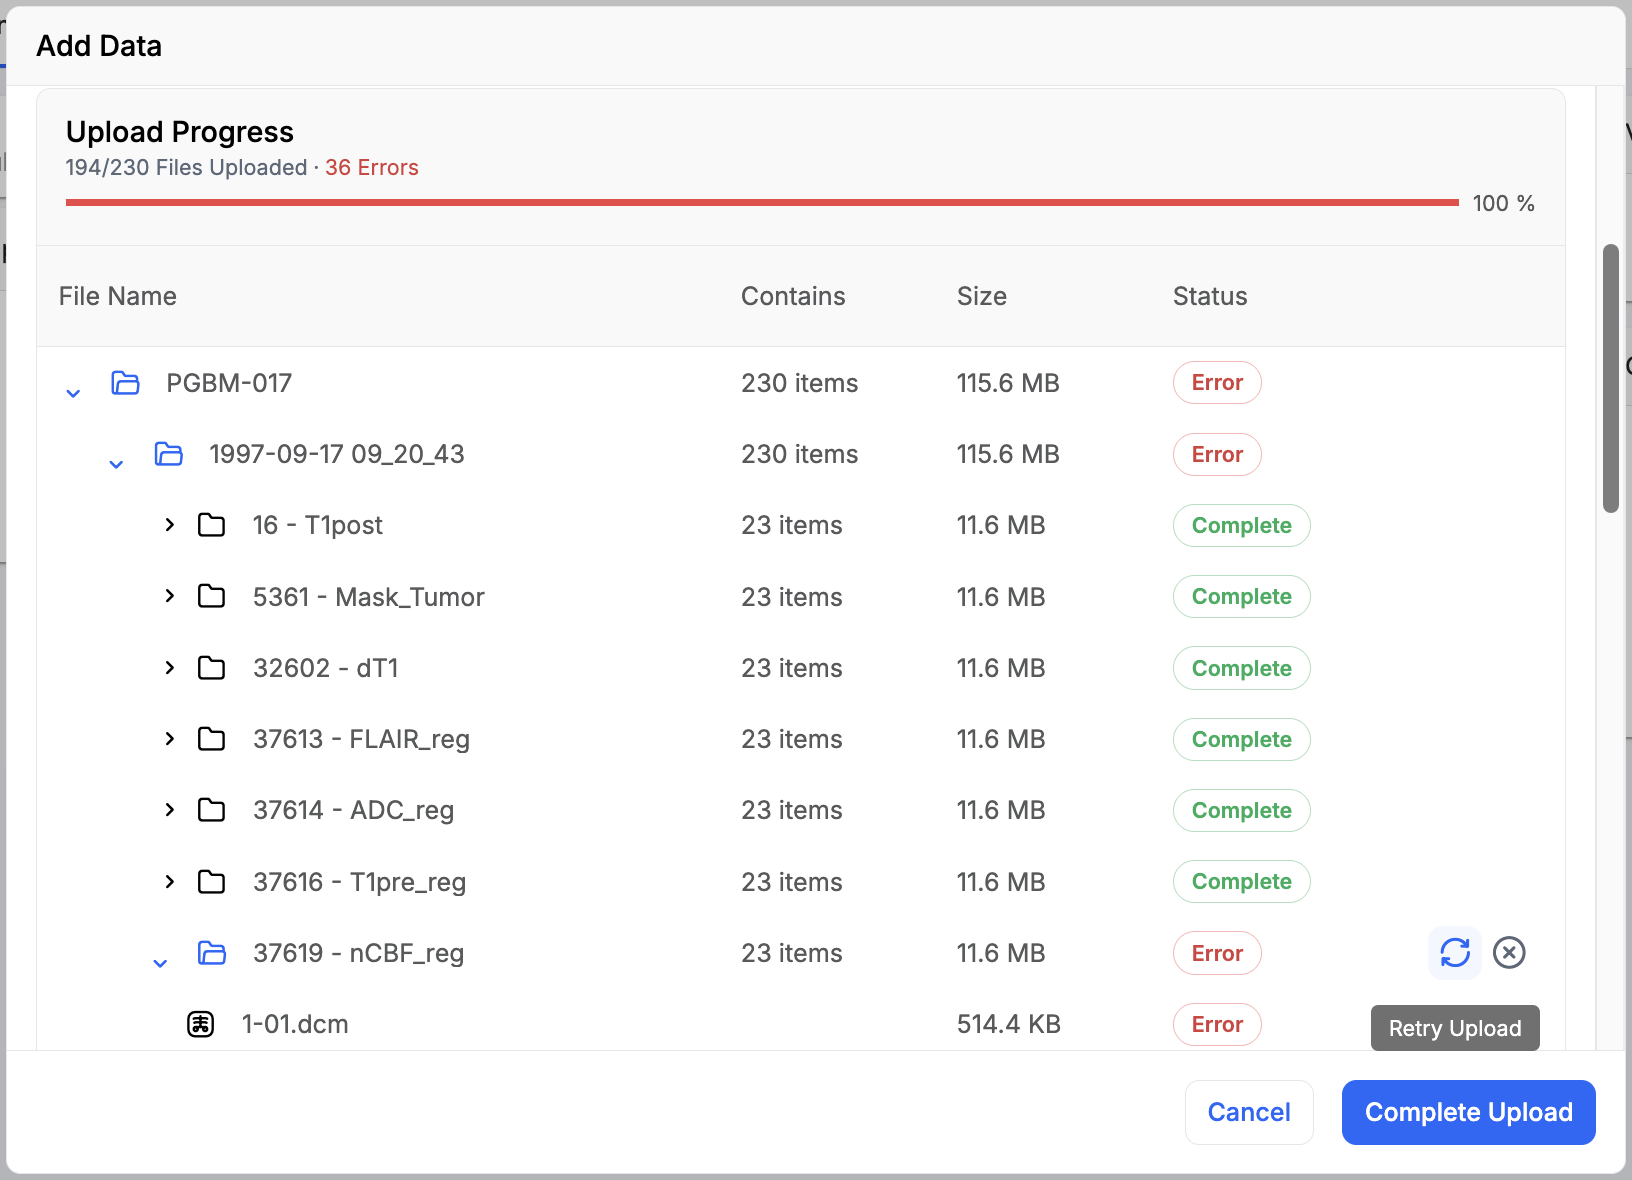
Expand the "Uploading Files" section to monitor the progress of the upload and confirm all files are uploaded successfully.

-
If any file fails to upload, you may either:
- Use the "Retry Upload" option to retry uploading of that individual file, or
-
Use the "Cancel Upload" option to skip uploading of that individual file.

-
-
If importing from an external storage, follow this step. Otherwise, skip to step 9.
-
Select the External Storage containing the source data to be imported.

Tip
If the desired storage location is not available, refer to the "Register external storage" step.
-
-
Select "Start Import" (or "Complete Upload") to start importing the data into Flywheel.