Validated Instance - Project Locking
Introduction
This document is a guide on how to use the Project Locking feature to lock and unlock projects.
Note
This feature is available with Flywheel Validated Instance versions 19.1.0 and later.
Features
In a project’s lifecycle, there are phases and events when it is necessary for the system to enforce that no changes are made to project data in particular during system validation and audit activities.
While a Project is locked in Flywheel, no data within it can be added, moved, modified, or deleted by any user (including Site Admin), gear, device etc.
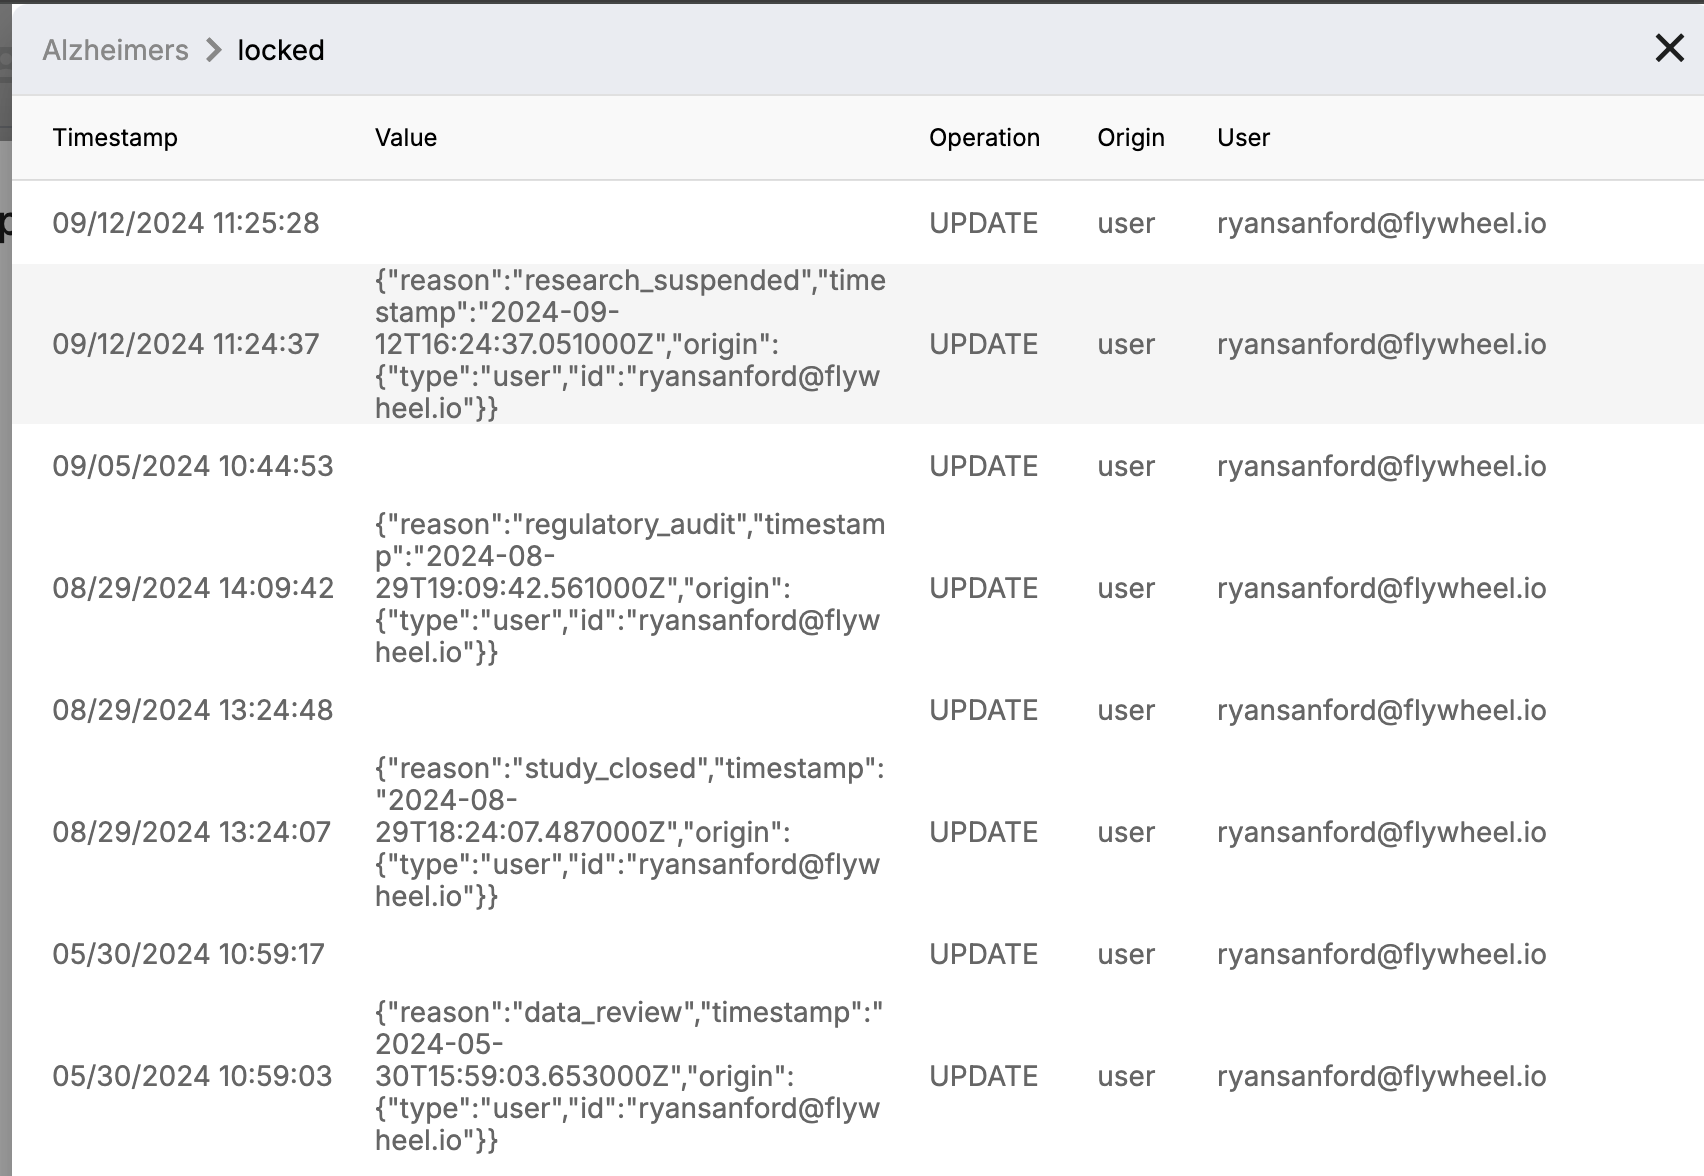
Project lock and unlock actions are captured in the Audit Trail.
Permissions
These are the project permissions relevant to interacting with this feature.
| Project Permission | Description |
|---|---|
| Manage Project Settings | Management of project settings, including the ability to lock and unlock projects. This permission is included with the system default “admin’ project role. |
Instruction Steps
In these steps, the user has already activated an MFA method. See the MFA Electronic Signature article for instructions.
Access and manage a project's lock status
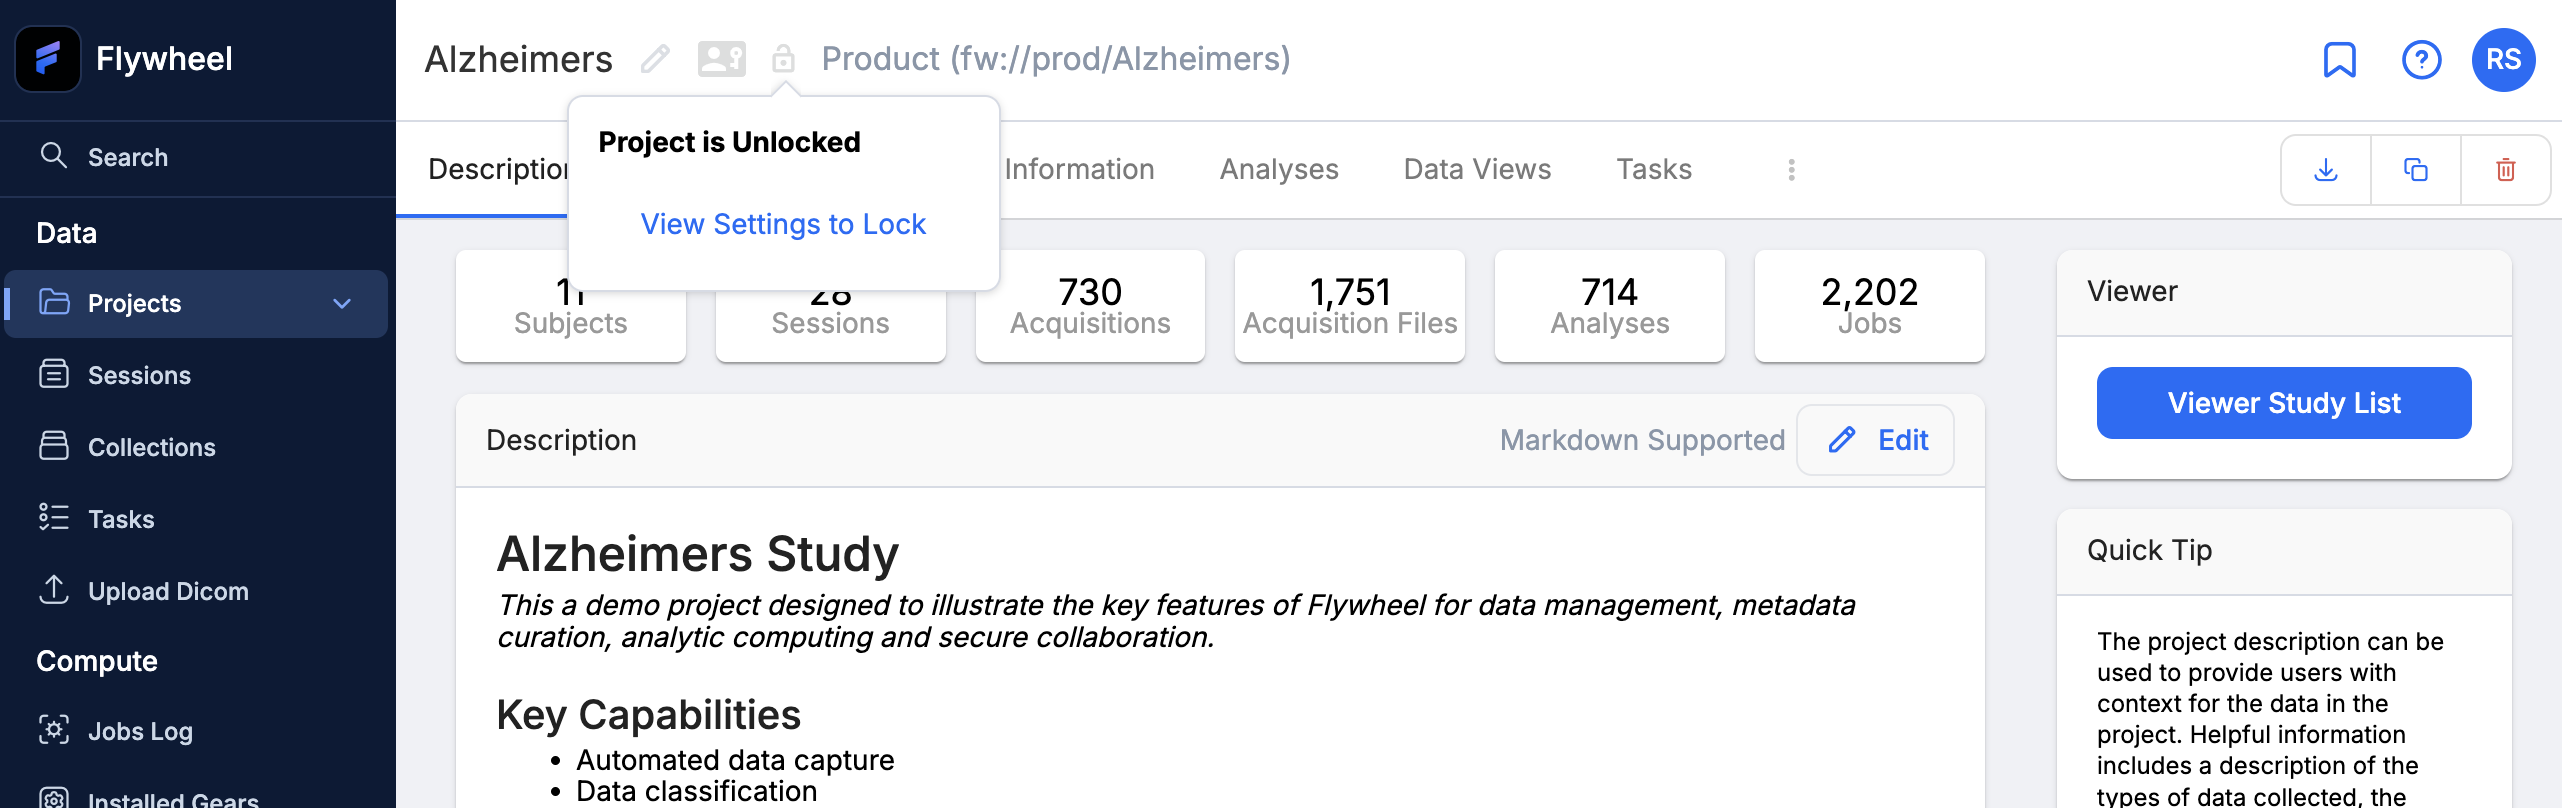
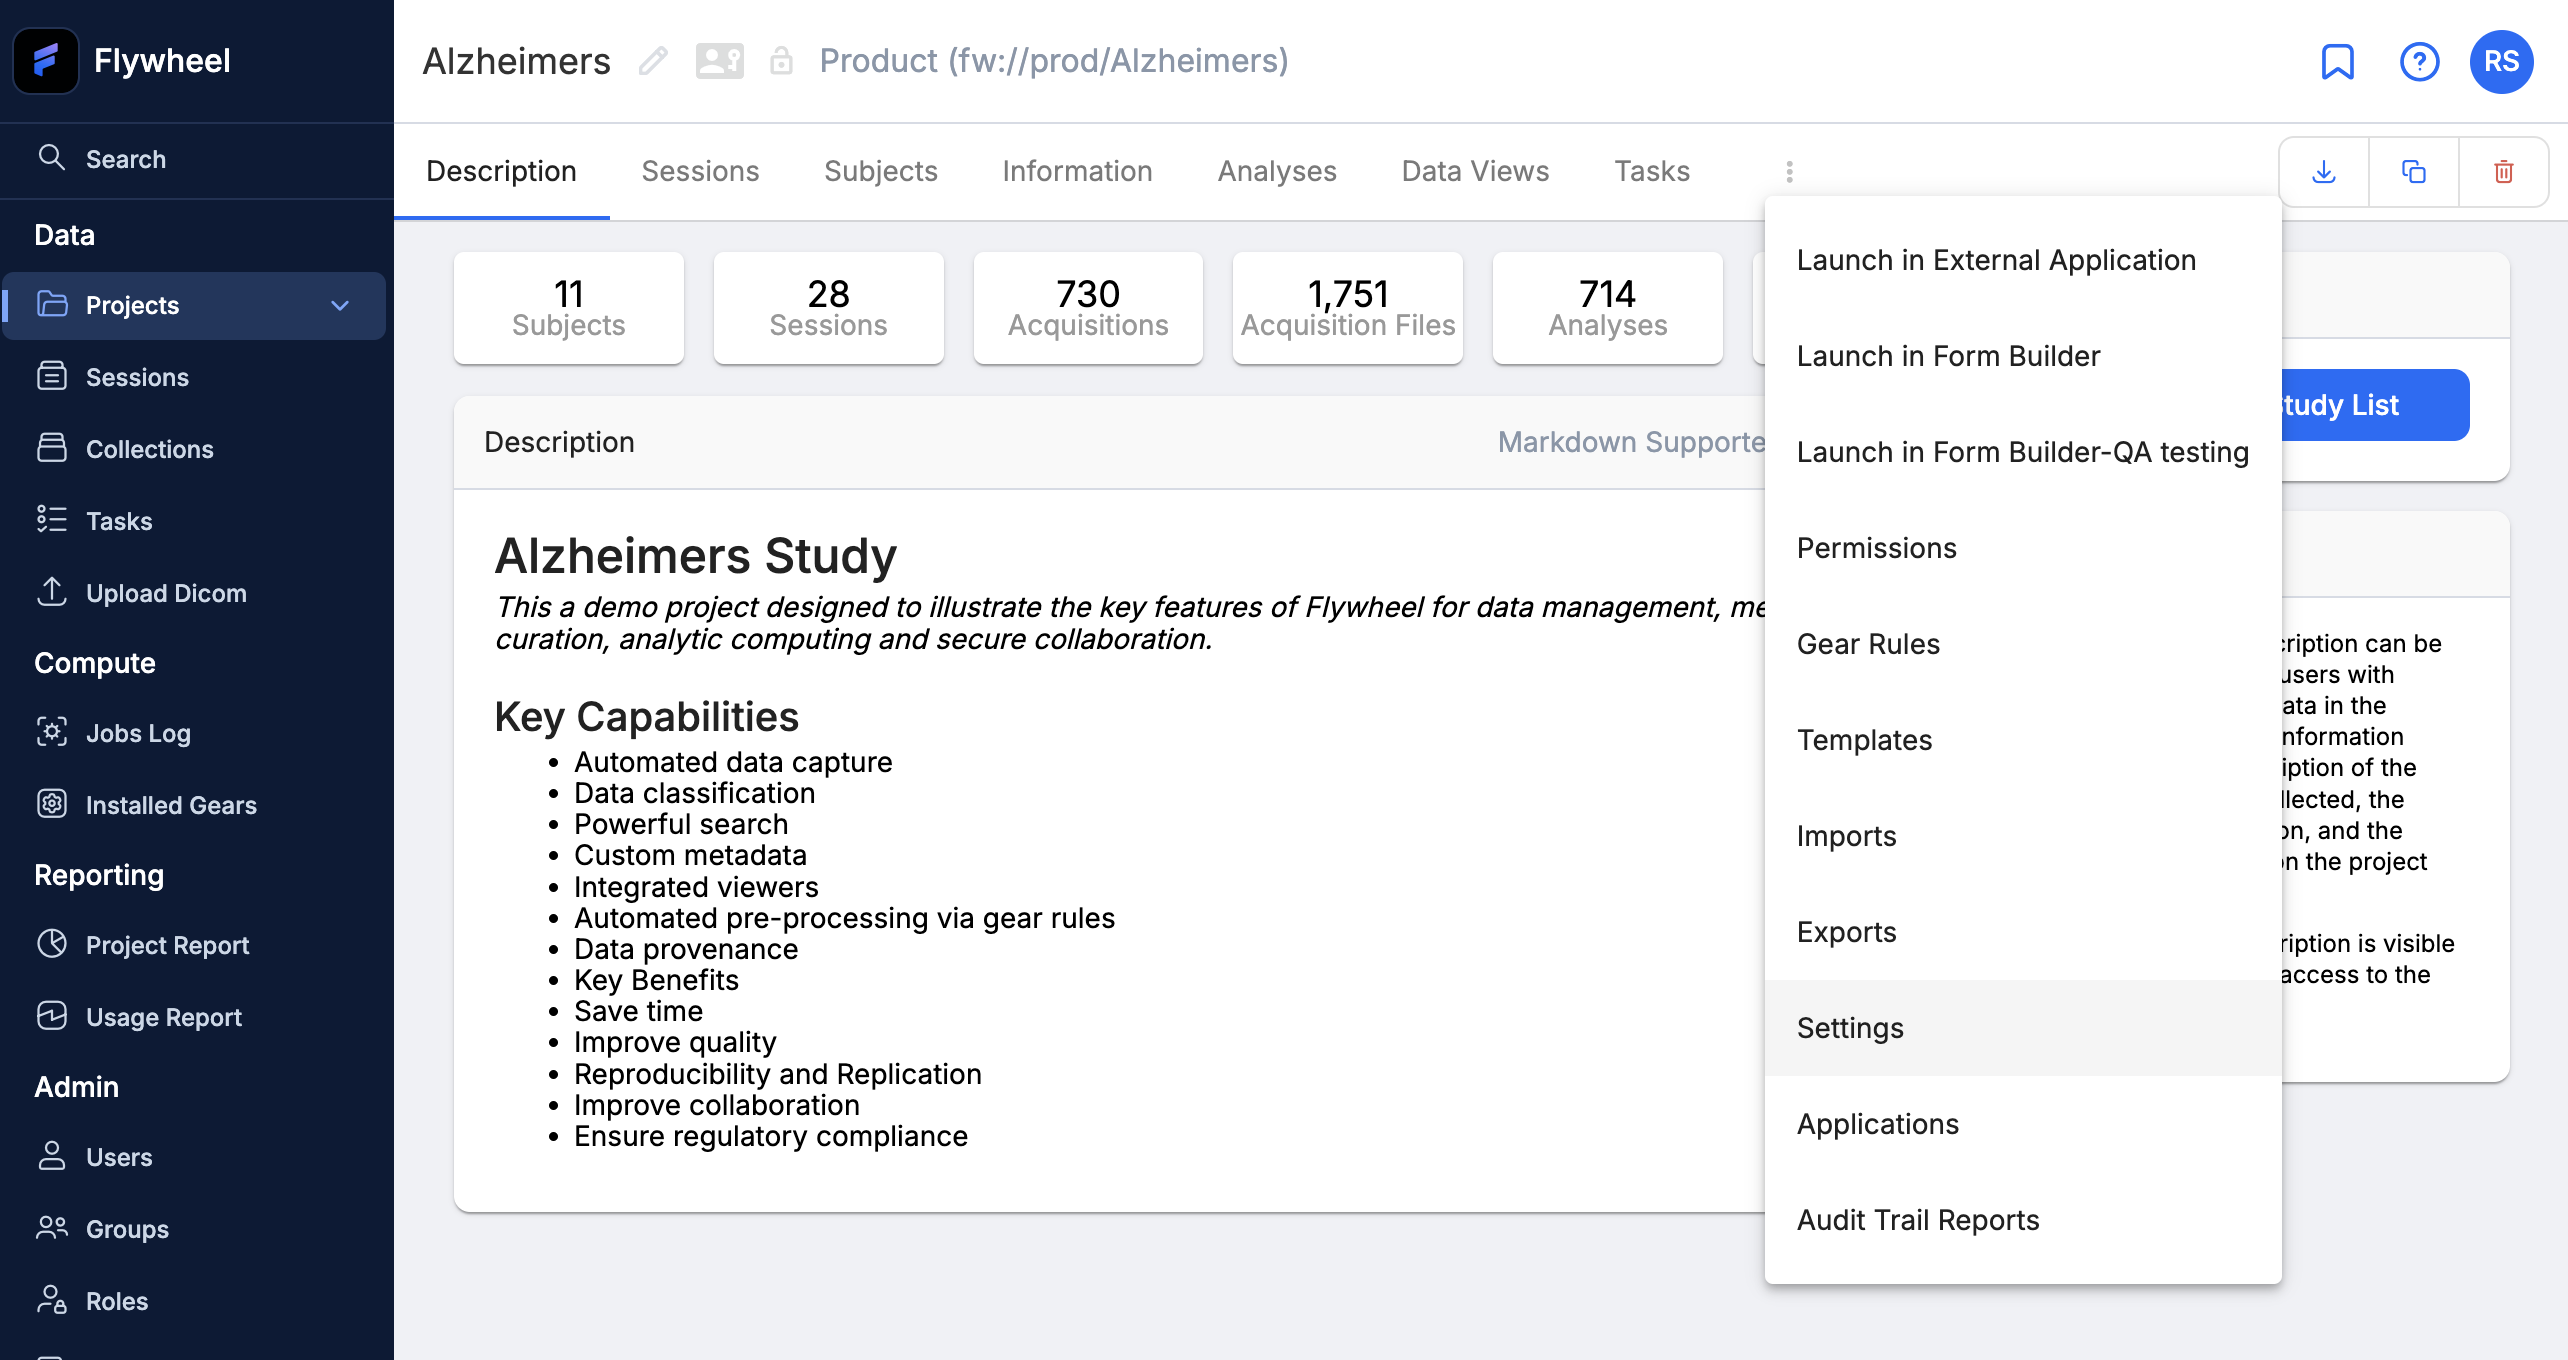
Navigate to the project that you want to lock, then its Project Lock Status – either from the projects lock status icon, or Project Settings
via the Project Lock Icon...
or Project Settings...
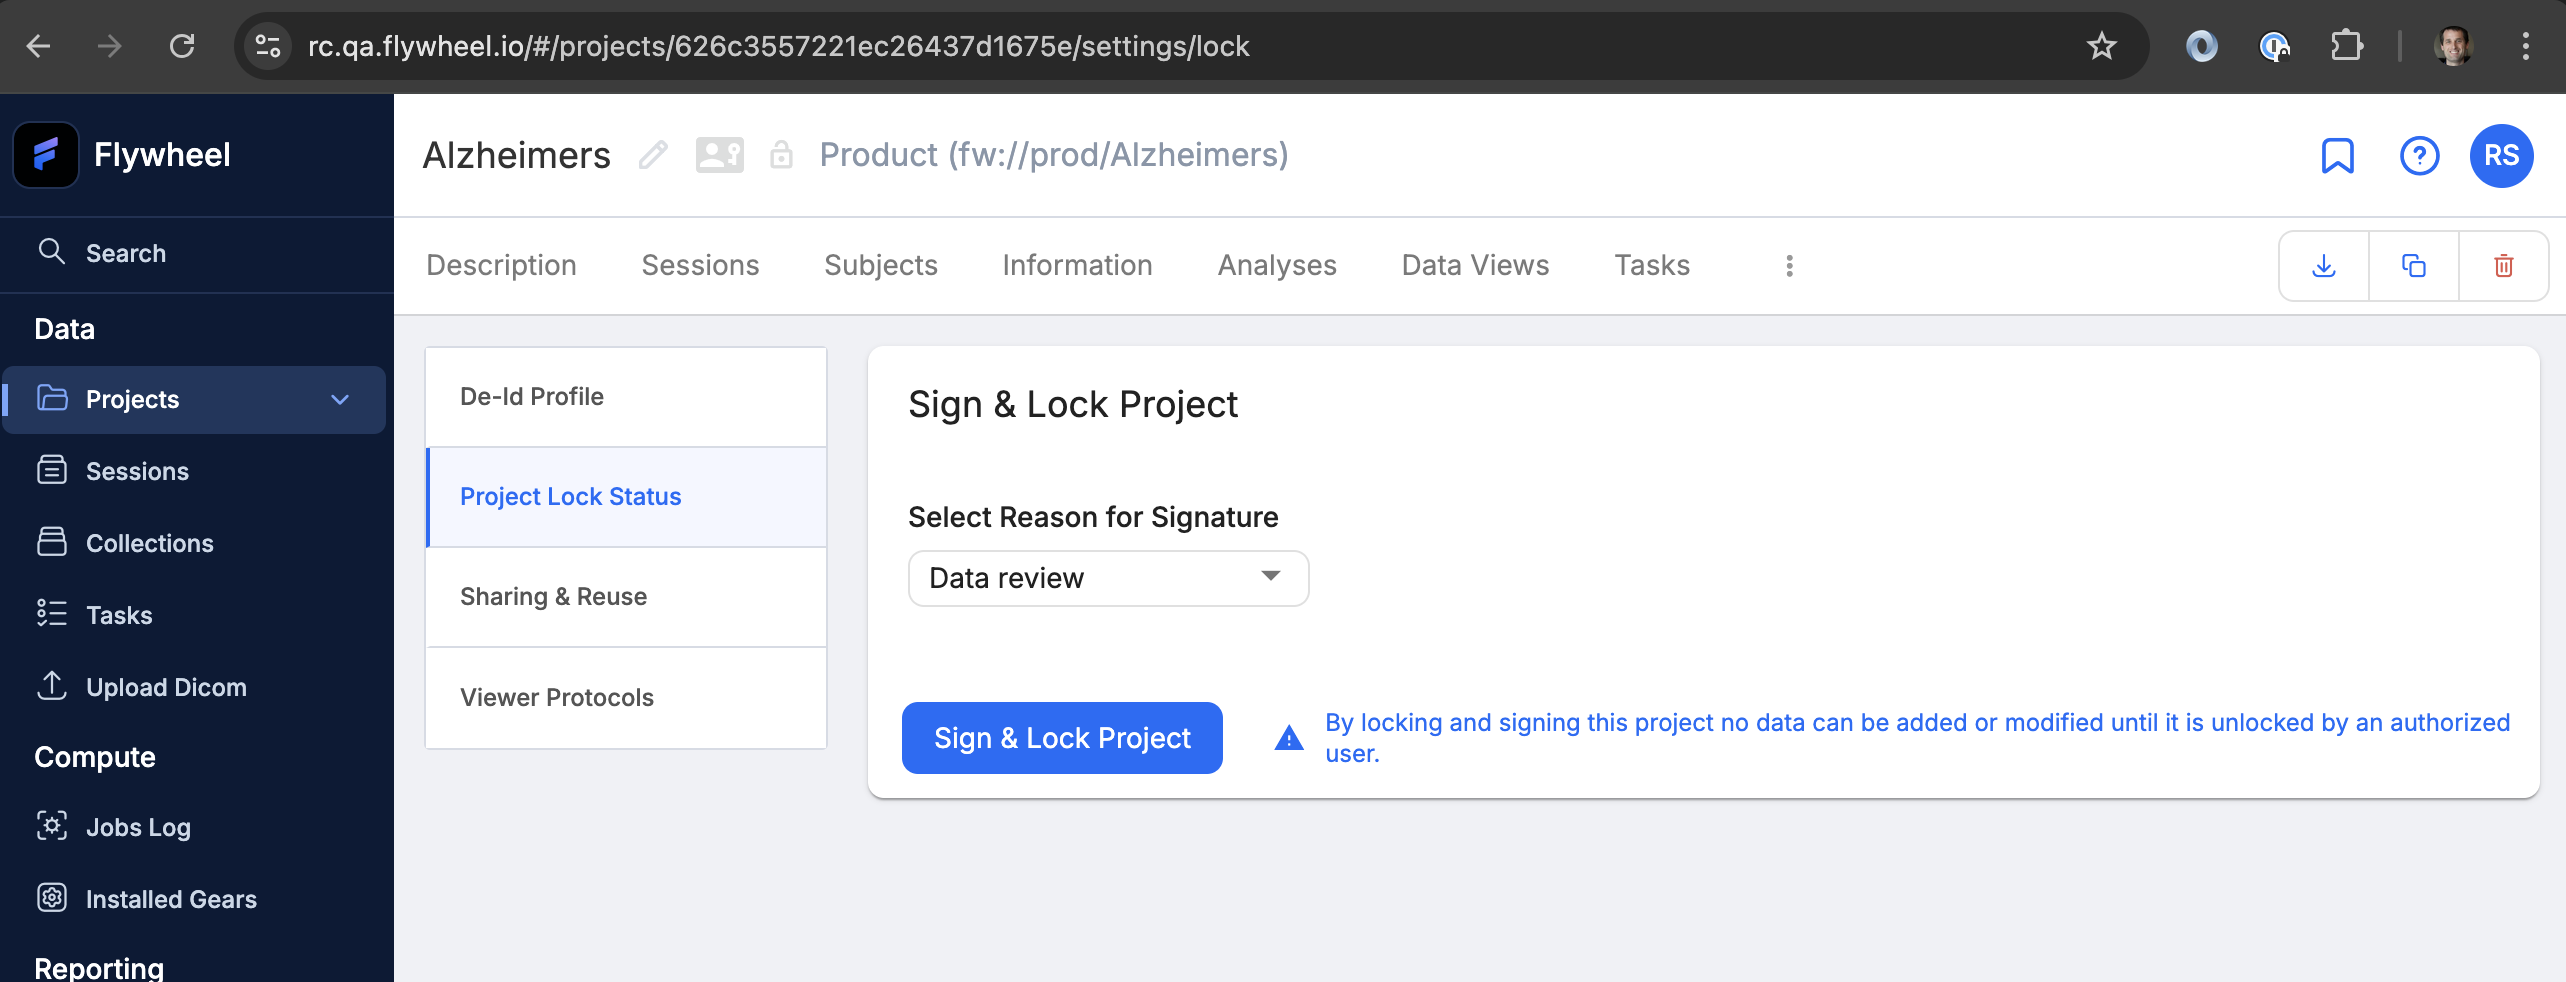
Lock a Project
-
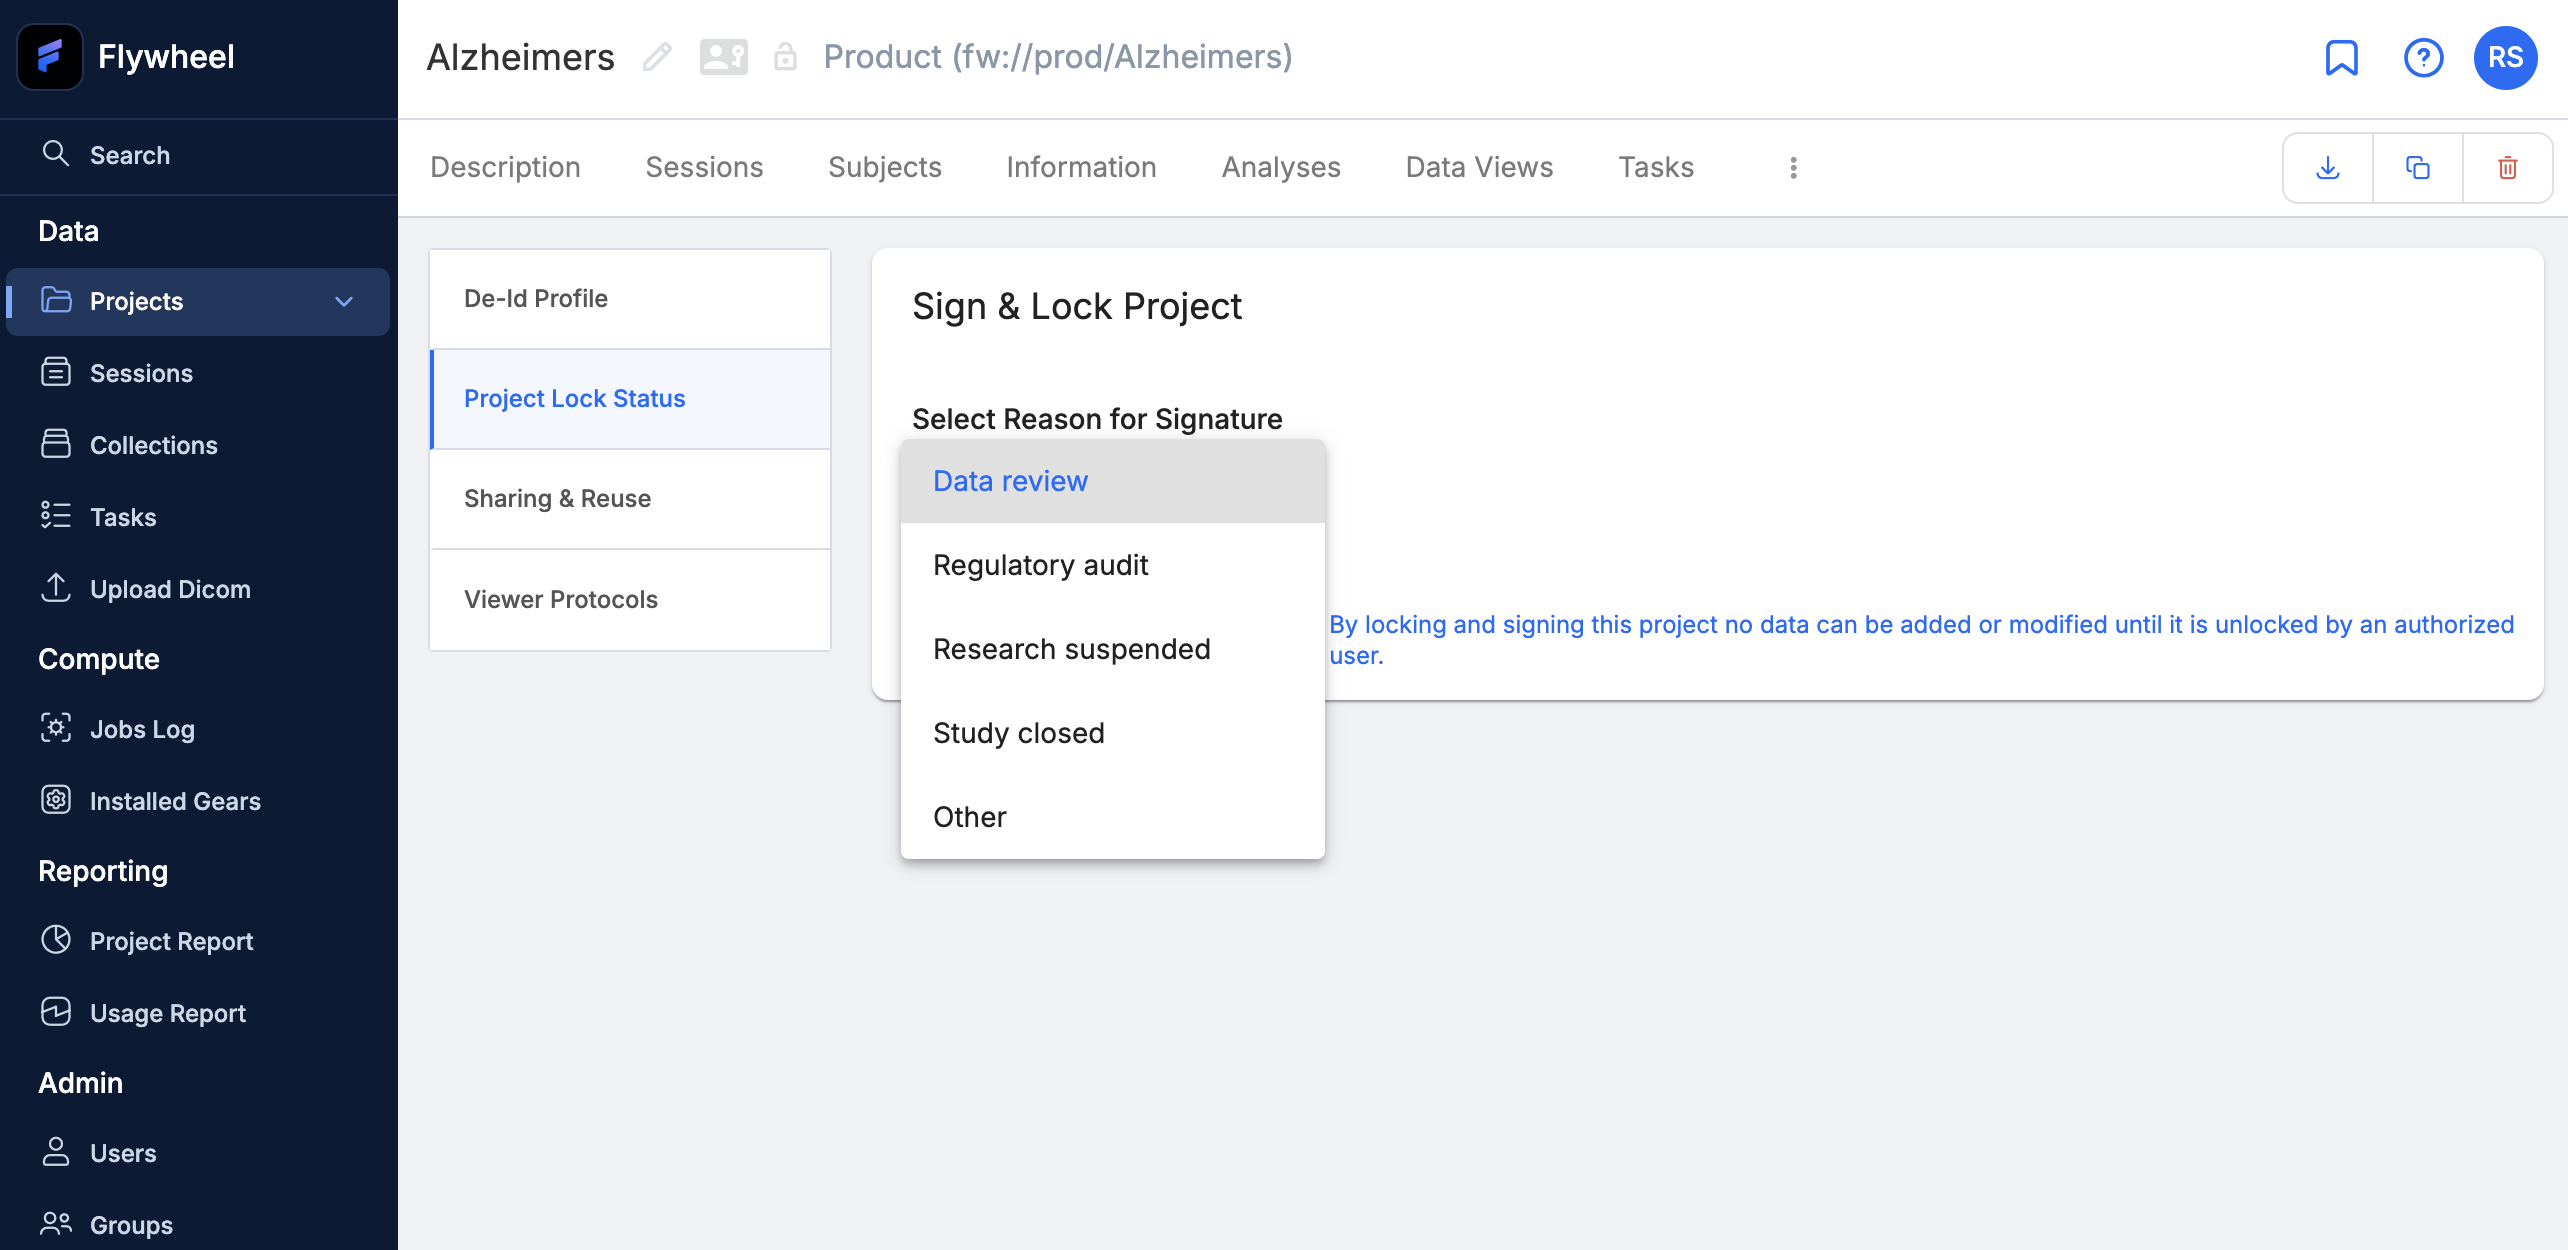
Select a reason for locking the project.
-
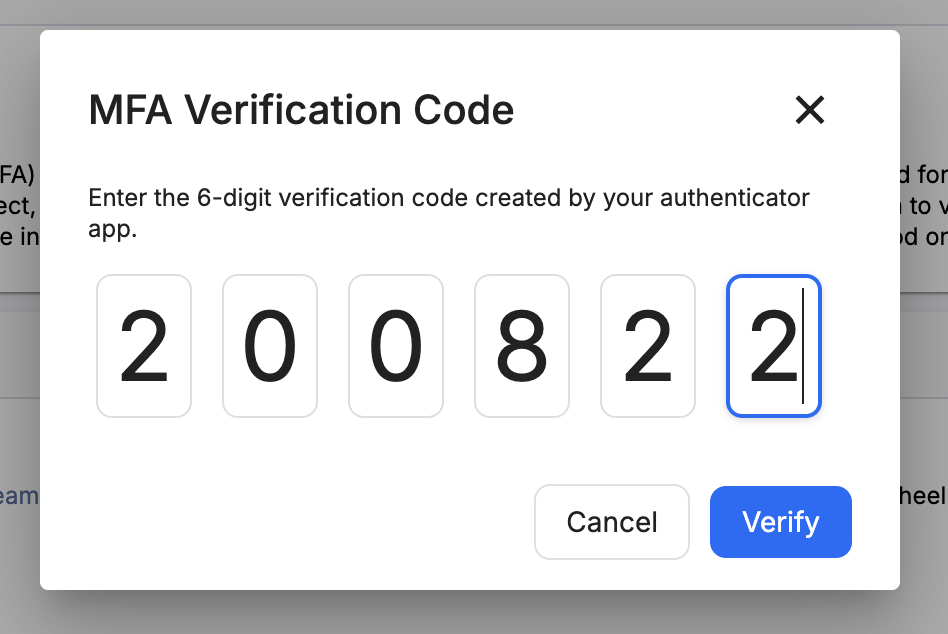
Lock the project by verifying your identify via MFA passcode.
-
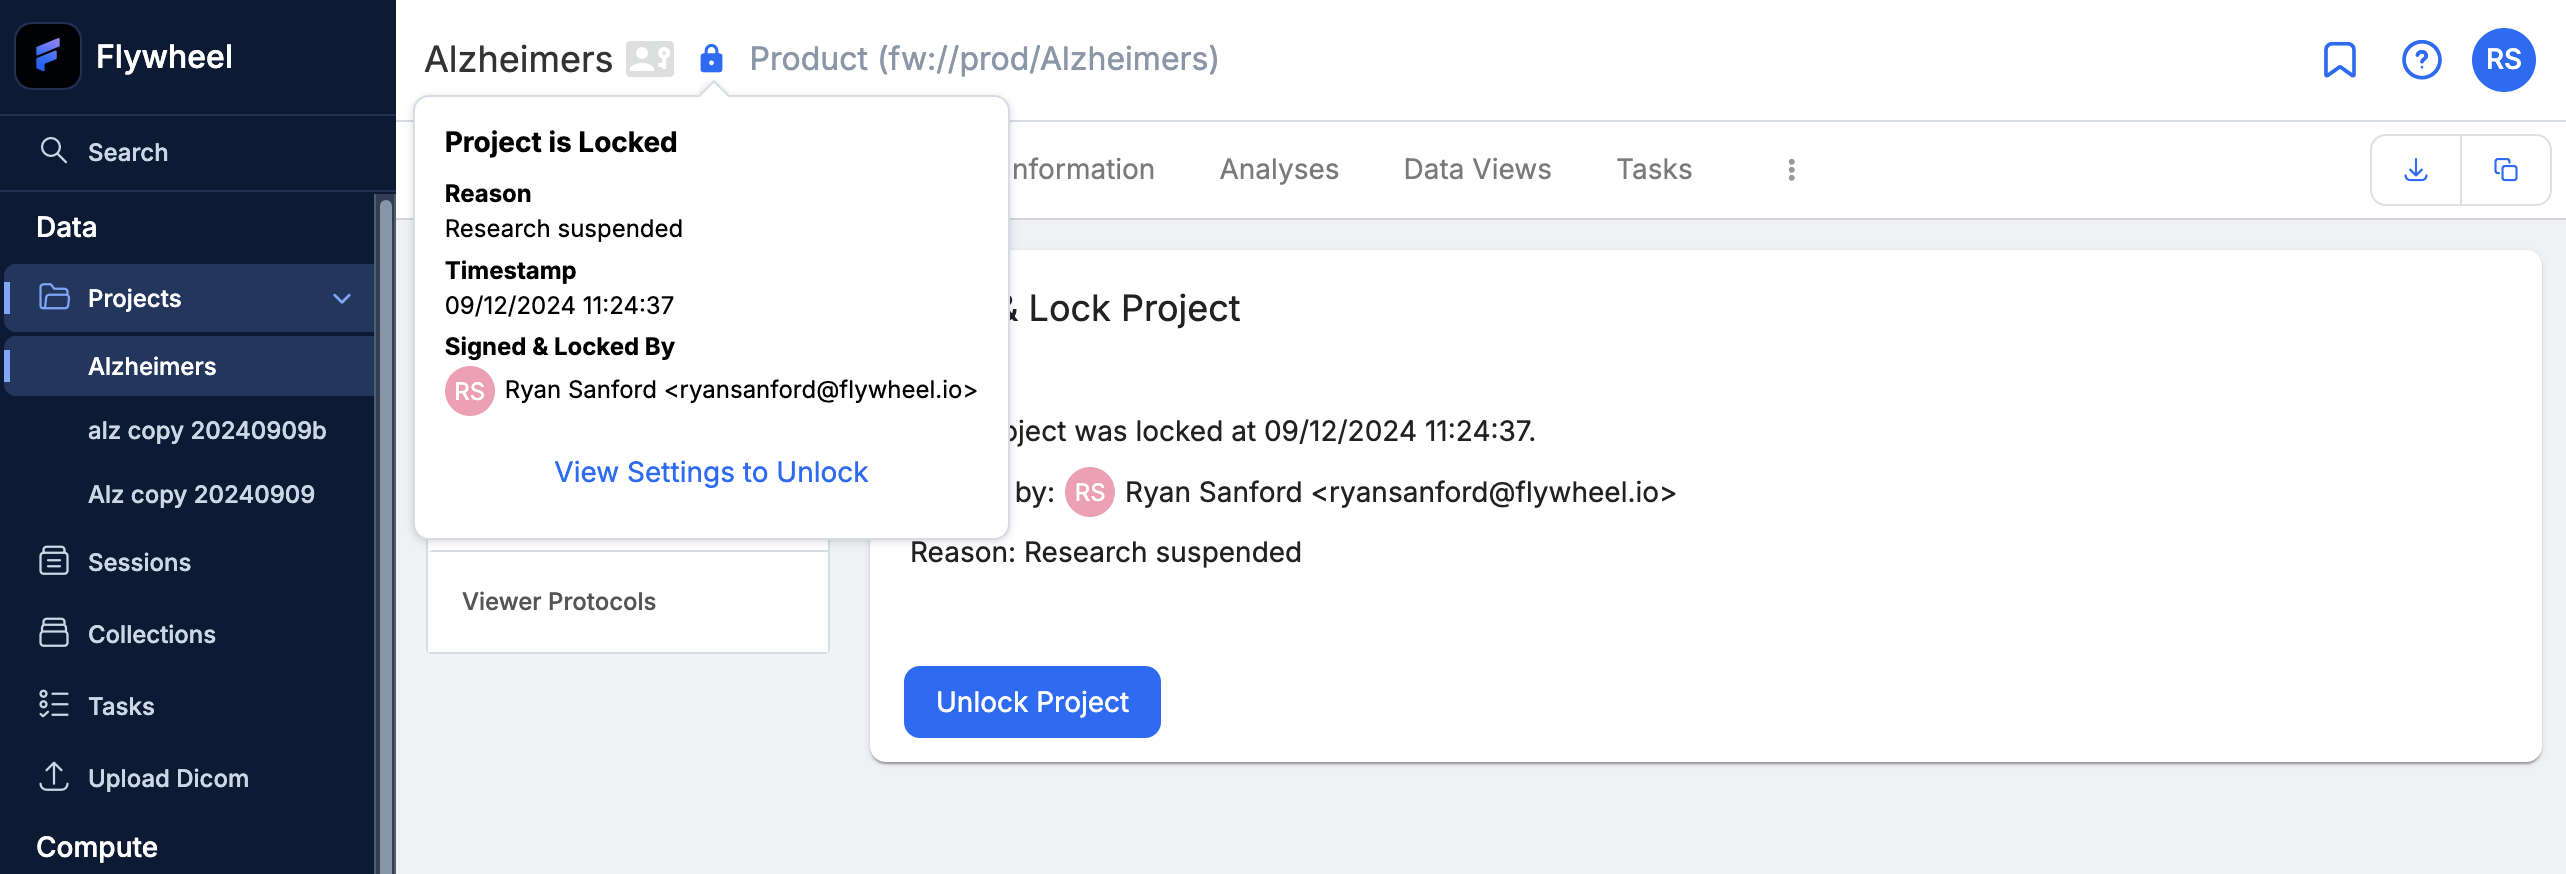
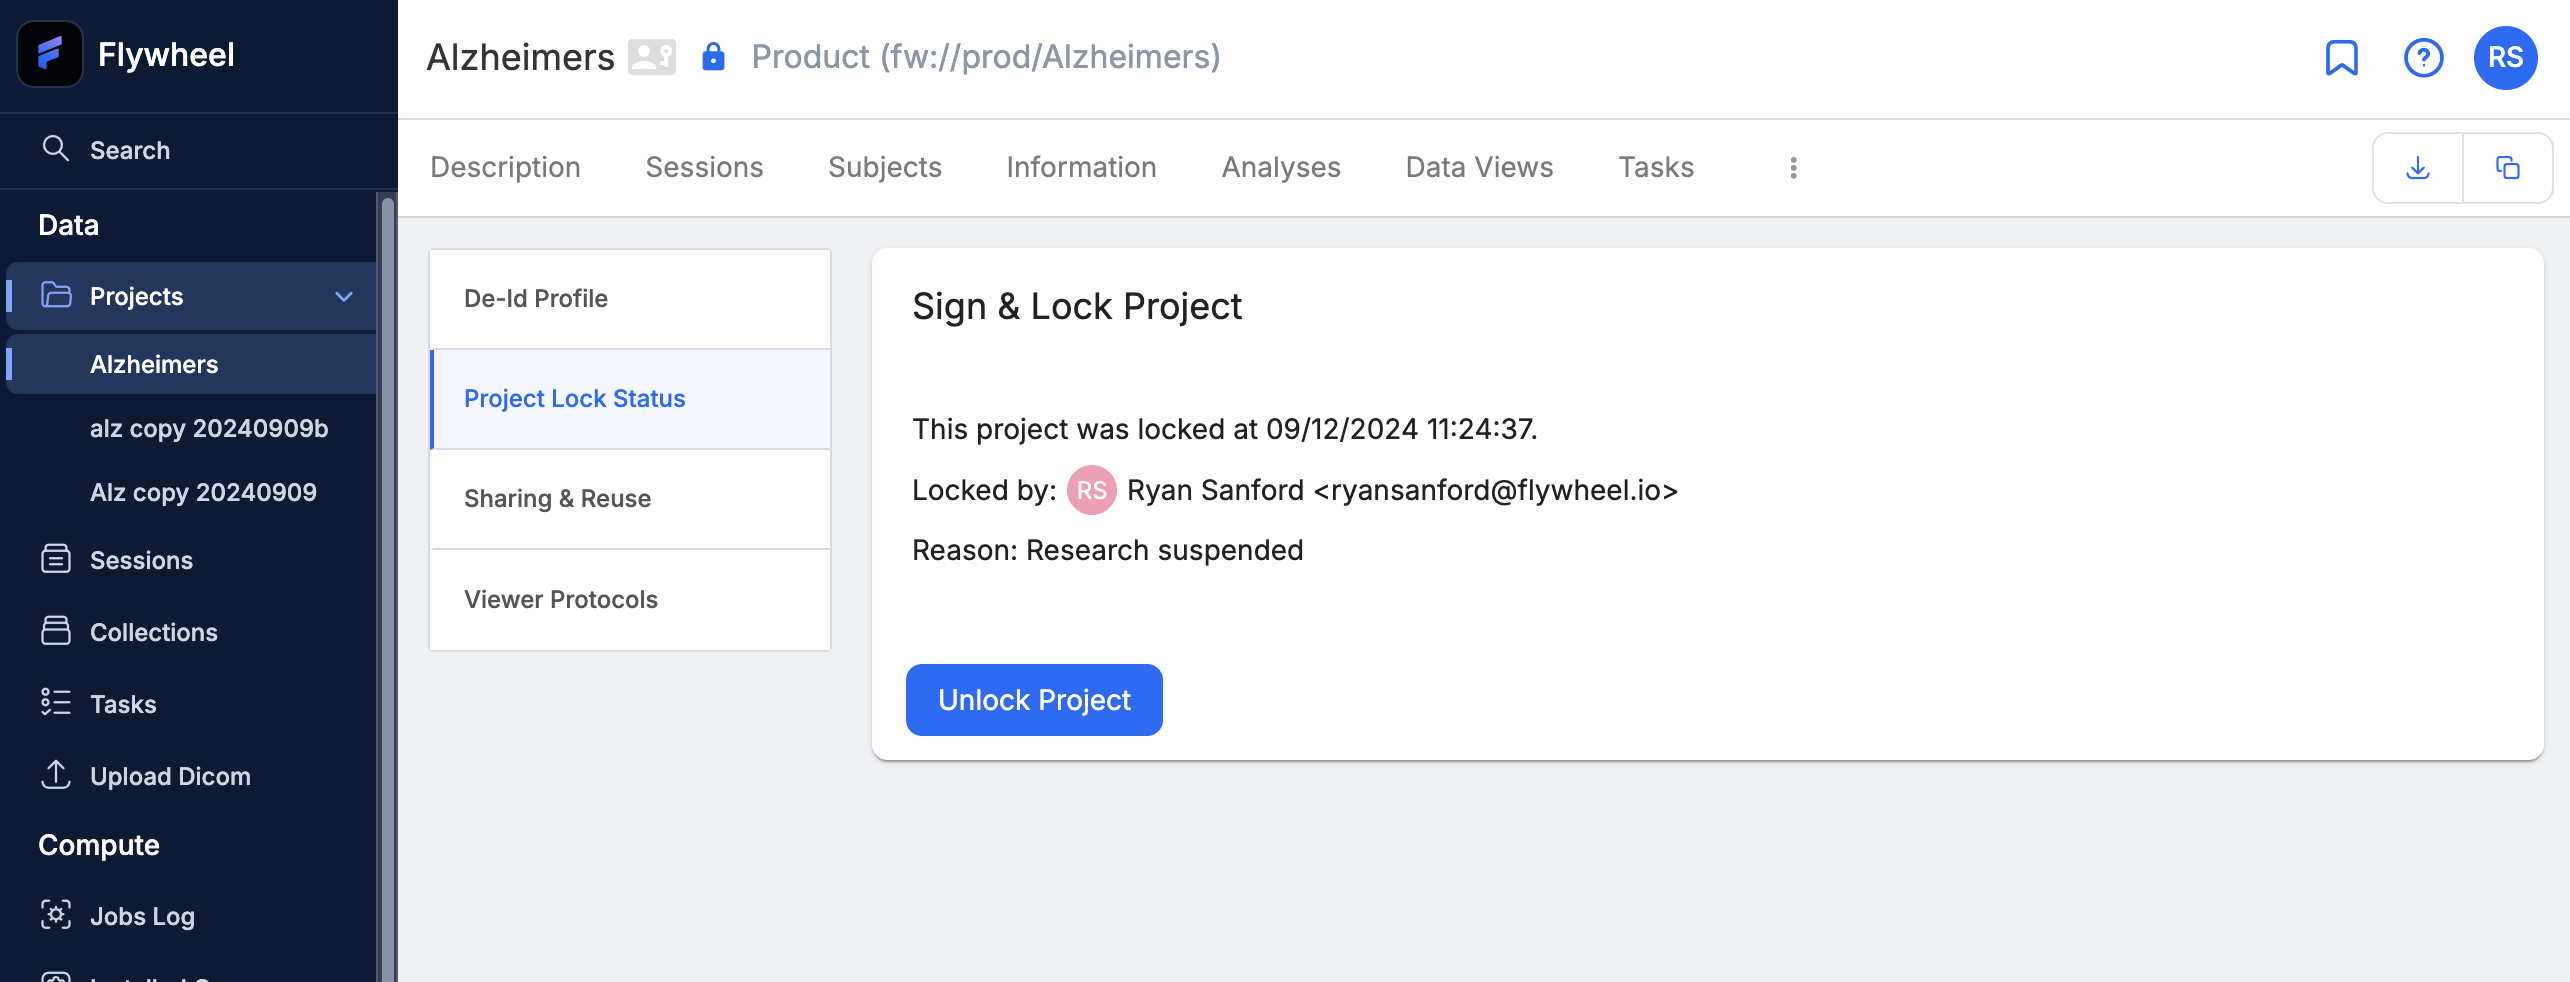
You will notice now, that the Project Lock status is updated to reflect that the project is locked, who locked it, the lock reason, and when.
via the Project Lock Icon...
or Project Settings...
Unlock a Project
-
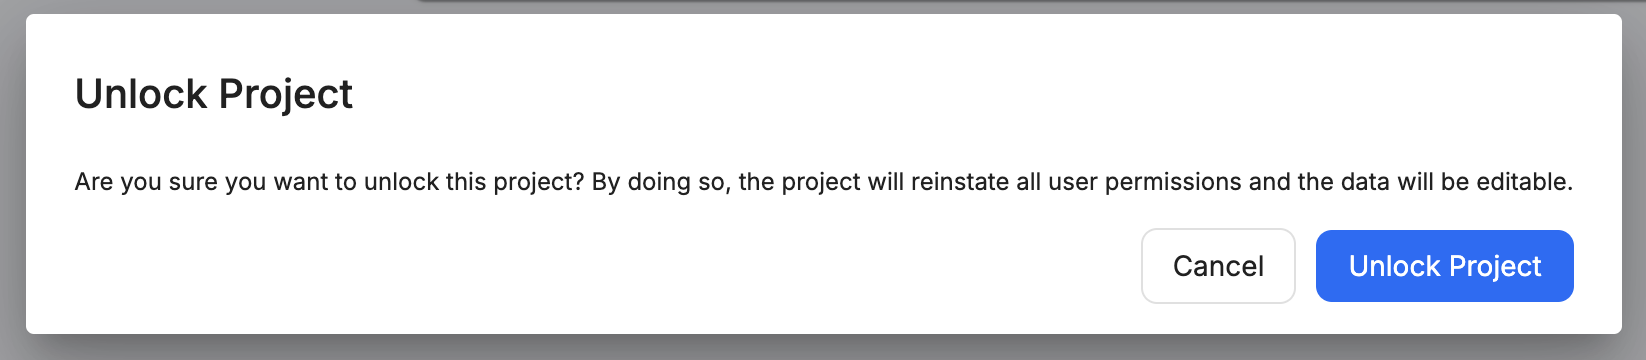
Unlock the project by clicking the “Unlock Project” button and confirming you wish to unlock the project.
-
Then verify your identify via MFA passcode.
View the Project Lock Attribute Audit Trail
-
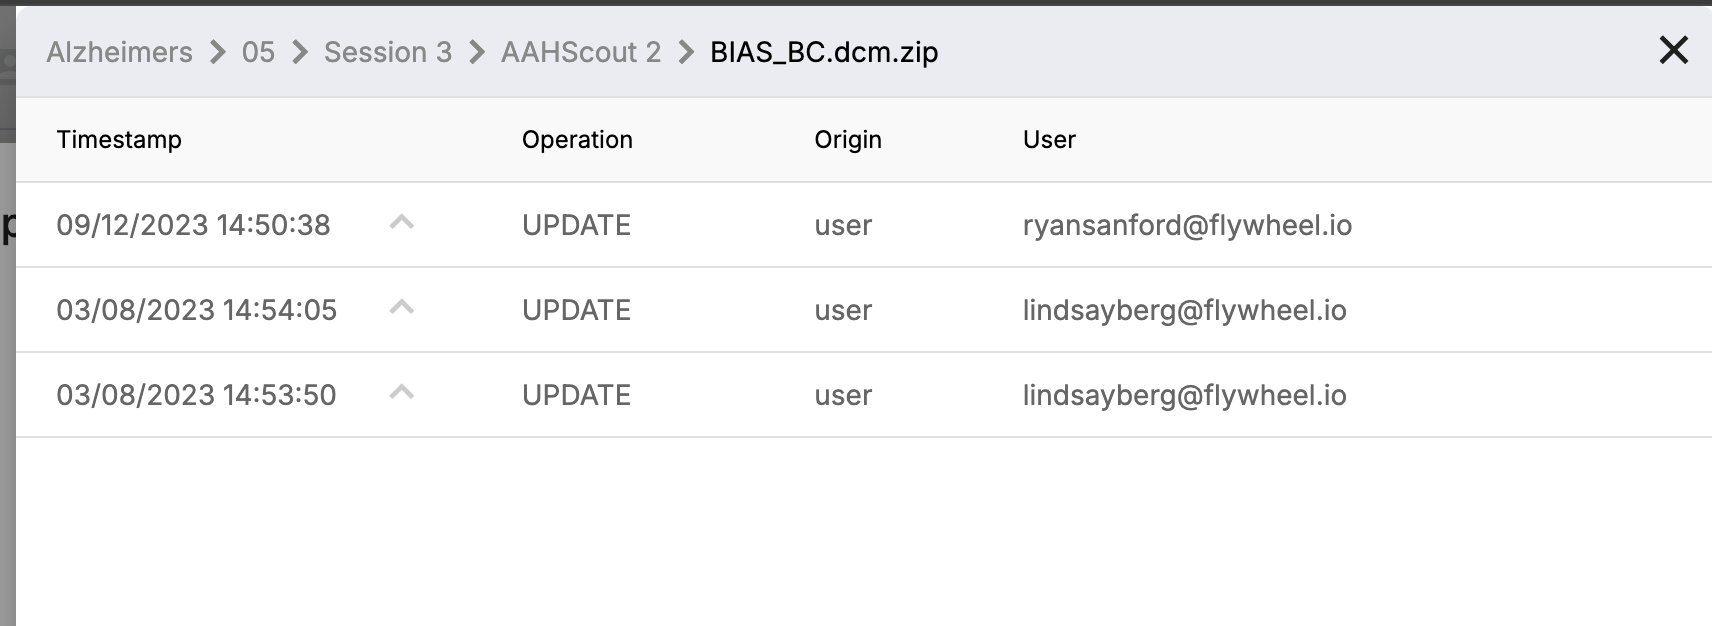
From anywhere within the Attribute Audit Trail UI, select the project level ("Alzheimers" in top left of screenshot)
-
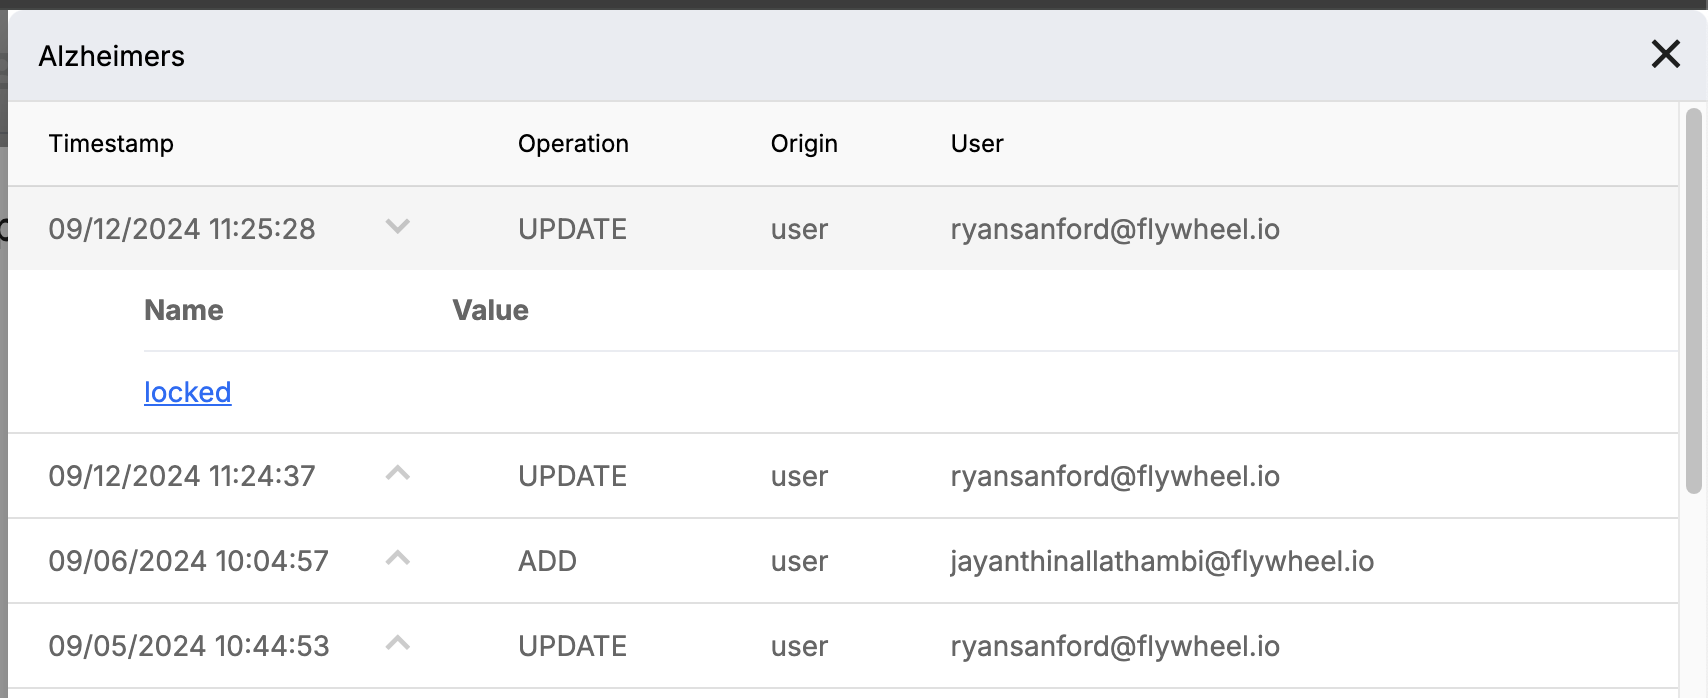
Find a record with the locked attribute, and click on it
-
View the details of each locking and unlocking action – who, when, and lock reason